Tulips

Hello my crafty friends!
Today my post is a card I designed using a picture from Facebook as my inspiration and a little hope that we shall see tulips coming up here in Maine soon even though as I am looking out my window it is snowing hard.
Here is how the card was made.
Step 1 - Card Base is 6" X 6". Cut dark chocolate Soft Finish Cardstock 6" X 12" score at 6" fold on score line. Cut white Soft Finish Cardstock 5-1/2" X 5-1/2" adhere to card front using Clear Double Sided Adhesive. Using largest ' die cut patterned paper (5-1/4" square) (ModaScrap - Wood Effects used here). Adhere to card front using Clear Double sided Adhesive.
Step 2 Cut circle frame from white Soft Finish Cardstock using 2 largest ModaScrap Dashing Circle dies. Lay dies onto cardstock on cutting plate lining them up evenly spaced put little removable tape to hold in place die cut. Save the inner circle for another project adhere frame to card front using Clear Double Sided Adhesive.
Step 3 Cut 2 Garden Notes Pottery Pitcher from white Soft Finish Cardstock 1 of which has Clear Double Sided Adhesive on back - place this one on top of second pitcher. Lay right side down on molding mat using large ball tool from Garden Notes 4 pc Tool Kit rub back of pitcher giving it a little rounded shape. Coat with VersaMark add clear embossing powder then heat. Add pop dots to center of lower half and Kids Choice Glue all around very outer edge - make sure to leave pitcher opening free of glue so tulip stems can be put down into opening.
Step 4 Make tulips. Cut 5 yellow and 5 white using Garden Notes Tulip 2 die set. Cut leaves and stems from green cardstock - I cut a few extra of stem only. Susan has a tutorial on her Facebook page - Susan's Garden Club you can watch it here.
Step 5 Arrange stems with leaves in pitcher opening adhering in place with Kids Choice Glue. Add a few extra stems to fill in then add tulips to stems again with Kids Choice Glue.
Step 6 Using Suzanne Cannon's Family die cut it twice from black cardstock with Clear Double Sided Adhesive on back as well as twice from white cardstock with Clear Double Sided Adhesive on back. Stack the black on top of each other then white off setting them just slightly to give shadow effect. Adhere to card front to left of pitcher.
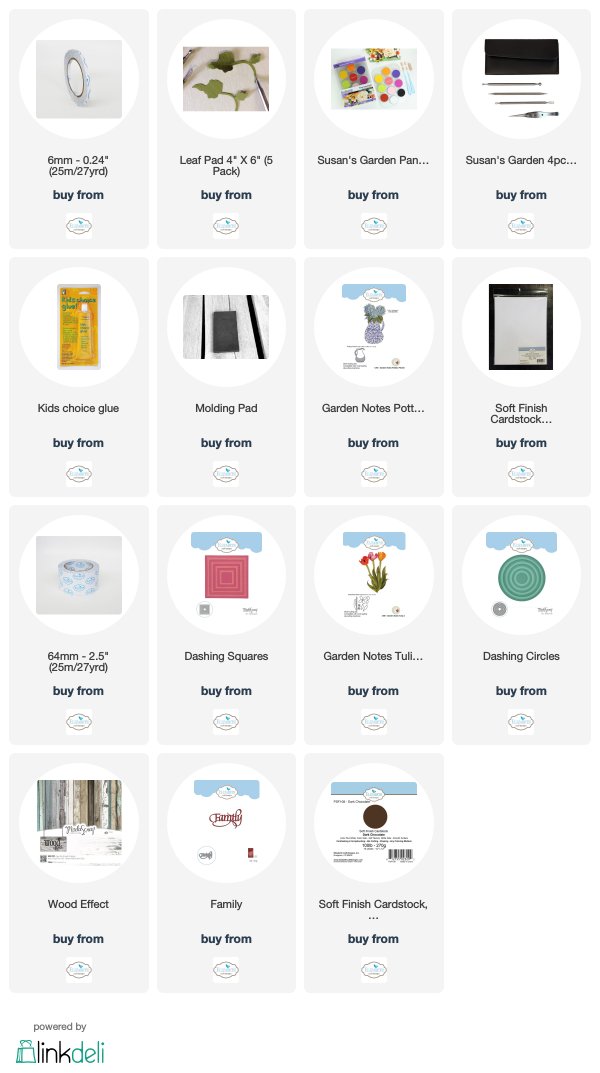
If you click on any of the supply pictures below it will take you directly to ECD site.
Hope this is an inspiration to you to make your own bouquet of tulips.
Until next time - Happy Crafting!
Christine
This was inspiration picture for my card today it is a bit brighter than mine.

Elizabeth Craft Designs Supplies

Other Supplies
Cardstock - yellow, green,black
Pop Dots
Clear Embossing Powder

.jpg)
Does the soft finish CS come in white 12x12. If it does I surely have missed it.
ReplyDeleteThey are suppose to be getting it back in soon from what I understand. I hope so because I will be needing more.
ReplyDeleteGood ...I kept hearing Susan say 6" base so I have been cutting the 8 1/2 x 11 and just taping it together. Of course that leaves extra ends to use for die cutting.
ReplyDelete