August Challenge - Fun With Character Dies


Hello, welcome to my blog.
Today is a new challenge for Elizabeth Craft Designs Design Team. This month the Design Team Challenge is Christmas Fun With Character Dies which is a brand new release by Joset Designs. There are so many cute dies and I have chosen to use the Penguin and Igloo die sets. Be sure to check out all the other Design Team creations on the Elizabeth Craft Designs Blog and at the same time answer the question for a chance to win.
Here is how my card was made.
Step 1 Form 6" X 6" gate fold card from white card stock by cutting cardstock 6" X 12" scoring at 3" from each end fold on score lines. Note: by measuring in from each end your center comes together more evenly.
Step 2 From white Soft Finish Cardstock cut 2 pieces each 2-3/4" X 5-3/4". Using embossing folder of your choice (snowflakes used here) emboss pieces. Adhere to card front using Clear Double Sided Adhesive.
Step 3 From white Soft Finish Cardstock die cut Igloo and ice (ice cut twice trim away so you only have top) and the sign. Using light blue ink highlight edges of igloo and ice. Adhere the trimmed piece of ice to top of whole piece which gives it more dimension. Adhere the igloo overlay to the igloo using Kids Choice Glue adhere to the ice using more Kids Choice Glue. Lay onto card front to determine where you want it adhere to right side of card front only making sure to keep adhesive just on left side use Clear Double Sided Adhesive.
Step 4 Cut 1 complete Penguin and 1 wing and set of feet. Cut wing so it looks like bottom of penguin using Kids Choice Glue adhere feet to penguin bottom then adhere to entrance to igloo using Kids Choice Glue. Using Kids Choice Glue assemble the complete penguin to use inside of card.
Inside of card:
Step 5 Cut blue cardstock that has white core 4-1/4" X 5-1/2" emboss with snow flake embossing folder then sand lightly to highlight the snowflakes. If you do not have the white core card stock you can use snowflake patterned paper cut to these dimensions. Adhere to card center using Clear Double Sided Adhesive.
Step 6 Using snow mound die from Reindeer die set cut 2 mounds from white Soft Finish Cardstock that has Clear Double Sided Adhesive on top. Using Silk Microfine Glitter - Cool Diamond sprinkle over adhesive on snow mounds tap off extra burnish in with fingers. Using Clear Double Sided Adhesive adhere mounds to bottom of blue cardstock.
Step 7 Cut 3 trees from green cardstock using die from Reindeer die set. Using embossing fold emboss trees using embossing folder of your choice. Using green Distress Ink add shading to trees. Adhere trees to card using Kids Choice Glue.
Step 8 Add Penguin using Kids Choice Glue on the back of very bottom.
Step 9 Using brown Distress Ink ink up sign and post. Stamp sentiment on sign using black ink and Joset Designs Cute Winter Sentiments stamp set. Adhere to penguin's hand using a little Kids Choice Glue.
Step 10 Using black ink stamp Merry Christmas from Joset Designs Classic Sentiments stamp set.
Hope you have enjoyed this tutorial and will make your own card. Be sure to visit Elizabeth Craft Designs Blog to enter for a chance to win and to see all the great projects designed by our Design Team.
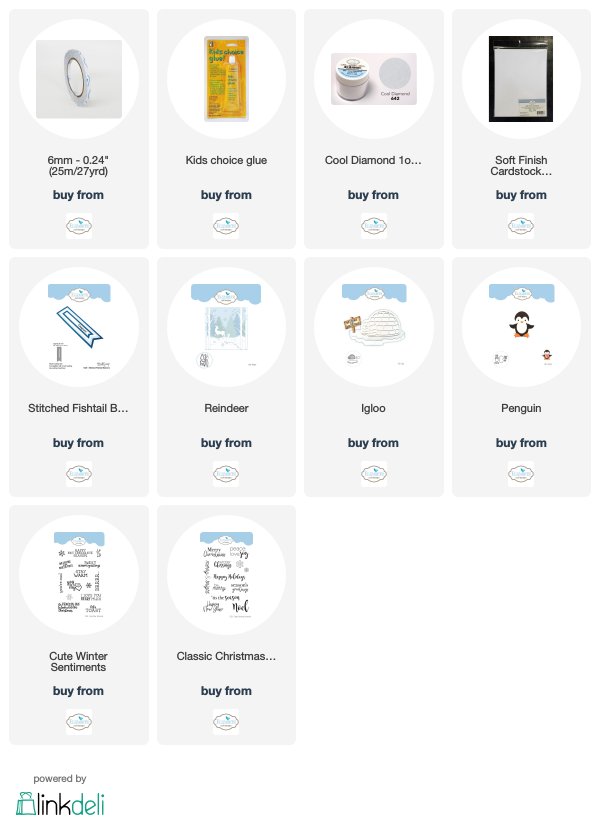
For any of the Elizabeth Craft Designs products used in this project just click on any of the pictures below and it will take you directly to the site.
Thanks for stopping by today and until next time - Happy Crafting!
Christine
Elizabeth Craft Designs Supplies

Other Supplies
Various colors of cardstock
Black Ink
Distress Inks
Embossing folders

.jpg)
I had to check out your card because of the penguin's feet sticking out of the igloo. TOO CUTE! And maybe quirky, but I LOVE quirky. Loved that and then surprise a beauty of an inside.
ReplyDeleteMy penguin fell backwards onto the igloo and the orange fee and black outline made me laugh and I will have to do a card with the penguin facing backwards and NOW with the penguin's feet sticking out.
Fun card!
Thank you so glad you enjoyed it really was fun to make!
ReplyDelete