Sunflower Hugs

Welcome my crafty friends!
Today I have a card I created using Susan's Garden Notes Canning Jar & Lid, Garden Notes Sunflower 2, Garden Notes Lavender along with Suzanne Cannon's Sending Hugs Kisses die set. ModaScrap - Wood Series patterned paper was also used.
Here is how card was created.
Step 1 Form 6" X 6" card base.
Step 2 Cut ModaScrap - Wood pattern paper 5-3/4" square. Adhere to card front using Clear Double Sided Adhesive.
Step 3 Using Garden Notes Lavender die set cut 1 stem from green cardstock shade with Distress Ink. Cut plate of florets 10-16 times from yellow cardstock. Place right side up on hard rubber pad / art eraser using toothpick cup each floret. Using Kids Choice Glue attach florets to stem base forming Goldenrod.
Step 4 Die cut Garden Notes Canning Jar twice from clear sticker paper. Using Copic Markers color 1 jar first using Y13 color whole thing. Then use E39 color leaving a small yellow area in center then add E29 coloring around edges. You want the jar to have that amber color. Adhere the clear jar over top of jar you just colored sandwiching color between the jars.
Step 5 Die cut 2 Garden Notes Sunflower 2 from white Soft Finish Cardstock color using Copic Markers. Cut leaves from green cardstock shade using Distress Ink. Die cut center florets from 2 shades of brown cardstock. Using Loop Tool from Garden Notes All Metal Tool Kit and Garden Notes Molding Mat shape flowers. Using Leaf Tool and Leaf Pad shape leaves use bright green PanPastels from Set 1 to highlight stem line down center of leaf. Place florets on art eraser use tooth pick to cup each floret.
Step 6 Place stems of goldenrod down through top opening of canning jar. Add thin strip of dimensional tape to back of stems. Adhere jar to left side of card front.
Step 7 Build sunflowers on top of jar using Kids Choice Glue. Let dry then add Brown Pollen to flower centers.
Step 8 From white Soft Finish Cardstock with Clear Double Sided Adhesive on back using Suzanne Cannon's Sending Hugs Kisses die set cut Sending and Hugs twice. Adhere 1 on top of other then adhere to card front.
I do hope that you have enjoyed my tutorial today and you will make your own version.
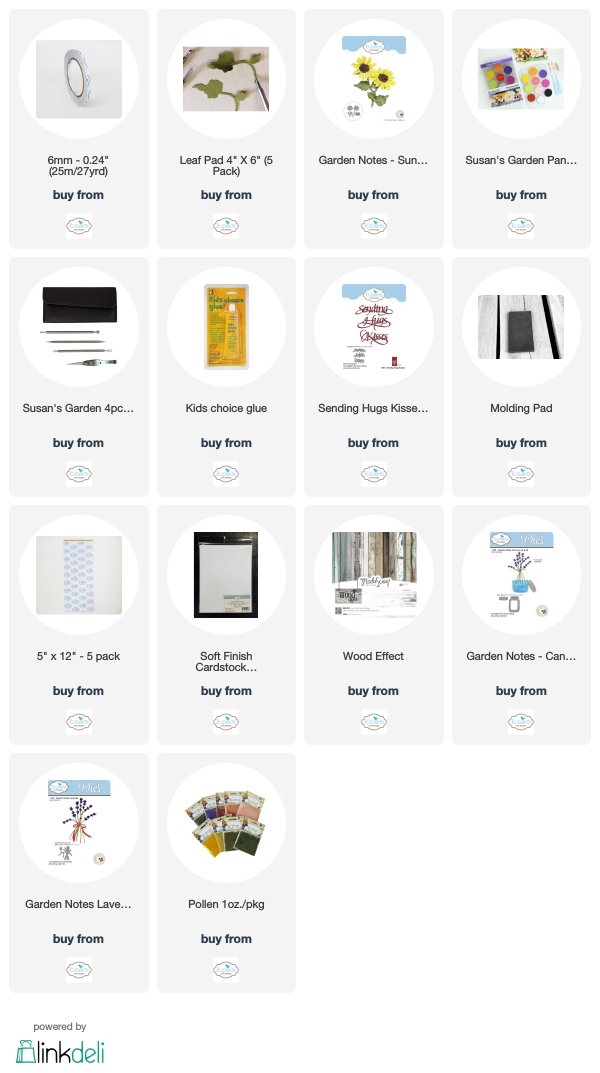
By clicking on any of the icons below it will take you directly to that item on Elizabeth Craft Designs website or click on Elizabeth Craft Designs Shop button on right side of my page.
Thanks for taking the time to stop by my site today!Until next time - Happy Crafting!
Christine
Elizabeth Craft Designs Supplies

Other Supplies
Cardstock - green, 2 shades of brown
Silhouette Clear Sticker Paper
Copic Markers - Y13, Y15, Y17, E29, E39

.jpg)
Comments
Post a Comment